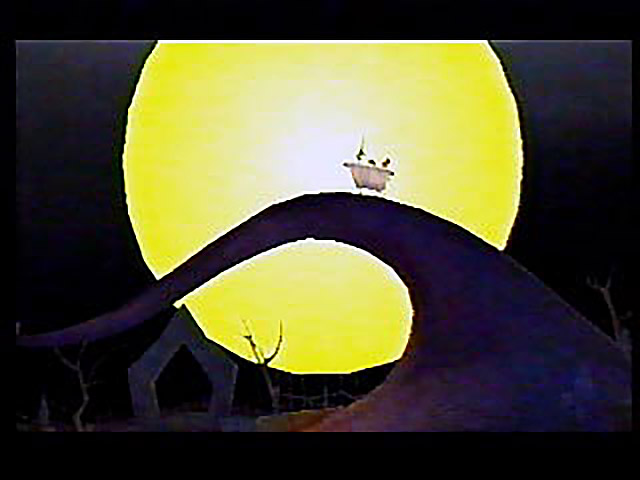
Kelly’s rare non-snarky screen-cap. Aww…
To get to Curly Hill, Junior and the others have to re-trace their steps back to the area of the Mayor’s happy little memory game, then head through a doorway topped by a huge stone jack-o-lantern. Zero waits for them there, his little hanky-butt wiggling to point out the tombstone switch on the side of Curly Hill that will make it uncurl so they can follow Lock, Shock, and Barrel. It is worth noting that there are pumpkin bombs on the ground in this section of the Graveyard, but they’re a pain in the ass to try to use in battle, so I never bothered to do so. I’m just making sure to mention it to keep up my gamer street cred.
Across Curly Hill, there’s a bridge spanning some really bright green water and two treasure chests plainly visible on the opposite shore. Down in the water there’s a passage leading back to Guillotine Square, should you feel the need to return to the one lonely-ass save point in Halloween Town. Now before we go on, let me tell you a little something about these treasure chests. One is fairly easy to get to and contains puppies. The other is not at all easy to get to and you will get a Defense Up, which is helpful, but I’m not sure it’s worth wasting 10 fumble-fingered minutes of your life on it. Let that be your Gamer’s Public Service Message for this recap, all right? Just come back after you finish this world and get the damned chest, it won’t kill you.
Chests opened and goodies gained, now is the time in the recap where we head to our final area to deal with the annoying little swots and their big baggy buddy. Across a rickety plank bridge lays Oogie Boogie’s Manor, which looks like the raddest, most completely cool tree house EVAR. It sure puts that stupid tree house in Deep Jungle to shame, I’ll tell you that. Inside the first floor of the manor, there’s a little platform with a lantern below it. Now, it doesn’t take a rocket scientist to figure out that in order to operate the platform, you must first hit the lantern with a nice bit of fire magic, but my Brady Guide goes ahead and helpfully points this out to me. Thanks, Brady Guide! However, now we’ve come to the part that I shall henceforth call The Big Fucking Lie. See, inside this room, there’s a nifty Red Trinity mark. And since I don’t happen to have @#%$!!! In my party just now, I cannot take advantage of said mark. However, since I’ve got that mad gamer skill of “I’ve played this game before”, I also know that if I don’t take advantage of the Red Trinity now, I will not get a chance after the upcoming boss battle with Oogie Boogie. What to do, what to do? Well, if you should be one of the unfortunate sods like me who’ve read the Brady Guide, you’ll notice a sentence that says there’s a handy save point “nearby” for your convenience in switching Jack out for @#%$!!! so you can snag the lovely goodie that resides behind the Red Trinity. Quite bluntly, based on the areas we’ve covered thus far in the game, it’s a fucking lie. Lie, lie, lying liars and the lying lies they tell kind of lie. However, you can be an idiot like I once was and spend your time hunting for this illustrious save point if you like, but I’m heading my once-bitten, twice-shy fool ass back down to Guillotine Square to the save point that doesn’t lie to me about its existence and will actually be of use to me. I think I’ll grab another bottle of bourbon while I’m down there, and chase it with some puregrain. I need all the help I can get to keep the homicidal voices at bay. They’re telling me to make the person who wrote this frickin’ guide pay in a very physical way. You guys don’t know where Sally put that Foreshadowing Hammer, do you? Oh, never mind. I’ll just use one of the empty bottles now littering the ground at my feet.
Off-camera, I do finally manage to get Jack and @#%$!!! switched out, back to the Manor and through the whole wall-humping Red Trinity exhibition. I get a Mythril Shard for my pains. The things I do for you people, I swear. But now that it’s done, Junior, Jack and Goofy can now head up the winding spiral path to the top of Oogie’s Manor to meet whatever lies in wait up there. I can hear the whining from here, so I suspect it’s the kids. There’s all kinds of things waiting at different points of the path that would love to push Junior and the others all the way back down to the ground. However, the Bouchi-Tub will take you right back to the Manor’s entrance should you fall down, so all is not lost. At the top of the path is a room called the Evil Playroom, and sure enough, Lock, Shock, and Barrel are waiting for us there. The kids know they’ve been busted, so they ditch the Heart-Shaped Box into a convenient cubby hole and our minor boss fight begins. You mean I finally get to wallop these brats? Oh, bring it, baby!
Needless to say, Jack, Junior, and Goofy give Lock, Shock, and Barrel the spanking of their lives in record time. At least something positive was gained from my treks back and forth to Guillotine Gate and here, dammit. After the battle, the kids whine and blame Barrel for stealing the heart, claiming they were only following Oogie Boogie’s orders to do it in the first place. Cry me a river you little punks. Also, once the battle is finished, a special something appears in the Evil Playroom. It’s…a save point. Was this the mysterious “nearby” save point so flippantly mentioned? If it was, someone deserves a severe beating with the Clue Mallet, and it’s not me. Let this be a lesson to you strat guide writer wanna-bes out there – if you’re going to be giving out “handy” hints like “there’s a save point nearby”, be sure to give your readers those handy specific details that will keep them from attempting to murder you in your sleep at the next con, all right?
Still, I’m not one to look a gift save point in the mouth, so let’s rest, refresh, and get ready to take on the big, bad, Oogie Boogie and his Roulette of Pain. I say, I say, PAIN, boy! Before leaving the Evil Playroom, there’s a big lever near where Barrel now stands and where the Heart-Shaped Box was ditched. Just for funsies, Junior takes a swipe at it before leaving. All it seems to do is lower a cage near the Manor’s entrance holding a chest containing a Dispel-G, but I know that some of you out there just love the Gummi Ship building, so go nuts.
The entrance to Oogie Boogie’s aptly-named Torture Chamber is all the way down at the bottom of the tree house. The bright green Oogie-faced door alone is torture enough for me. It simply does not go with the rest of his décor. Oogie, baby, maybe it’s time the Fab Five paid your ass a little visit, huh? Ghastly green doors are so last season.
Once inside, Jack confronts Oogie Boogie, demanding that the give he Heart-Shaped Box back, pronto. Oogie Boogie, in league with playground bullies everywhere, tells Jack that if he wants the Heart-Shaped Box that galdurned badly, he can come over and get it, then eats the heart in one gluttonous gulp. Apparently our pal Oogie thinks that by consuming the Heart-Shaped Box he will be able to control the Heartless. To test his theory, he calls out “Oh, Heartless!” The effort does not go as planned. Only two Heartless bother to show up. Oh, poor Oogie Boogie, he’s like the Rodney Dangerfield of the baddie world.
In his anger at the blatant disrespect shown to him by the Heartless, our first fight with Oogie Boogie begins on the Roulette of Pain. And as much as I love Halloween Town otherwise, this battle sucks rancid donkey balls. First of all, you can’t even fucking see Oogie Boogie from the camera’s vantage point, second of all he’s throwing magic at you from above, there’s Heartless to fight on the wheel itself, then there’s the three-bladed knife thing that sits like a fucking street-fighting squid on top of the center of the wheel to relieve you of those burdensome hit points, and all the while, Oogie’s throwing down dice which bring about various ill effects to your party. To put the cherry on this towering sundae of evil, you have to run to the right part of the roulette wheel to hit a switch that will bring up a wall of spikes and raise you to Oogie’s level so you can actually do any kind of significant damage to the redneck fuck.
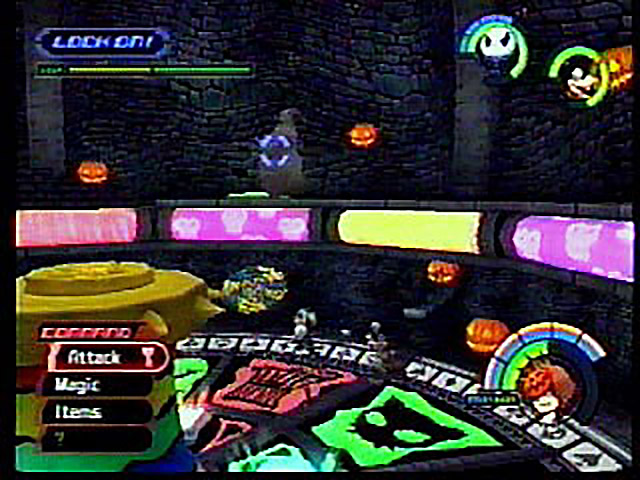
Pain!
Eventually, though, Junior, Jack, and Goofy are victorious, bringing Oogie Boogie’s buggy reign of terror to a sticky end. All that’s left of our former enemy is a moldy burlap sack and the Heart-Shaped Box. And after seeing all the bugs spewing out from that sack, I need a shower, or failing that, a year’s supply of Raid. Ew. Instead, we get the Holy Circlet and Ansem’s Report 7. I guess that will just have to do. Jack admits that the heart must’ve been a failure after all, and our gang heads out of Oogie’s manor, convinced that the worst is over. It’s all a rather anti-climactic ending for such a larger-than-life baddie such as Oogie Boogie, don’t you think?
As if in answer to my prayers, if you could consider a rhetorical question to be a prayer, no sooner does our gang get to the plank bridge leading back to town than a whole lotta shakin’ goes on and they fall to the ground in a heap. Behind them, rising in its glory with an ululating cry comes the new and improved Oogie’s Manor, featuring the livin’ large features of Oogie Boogie himself!
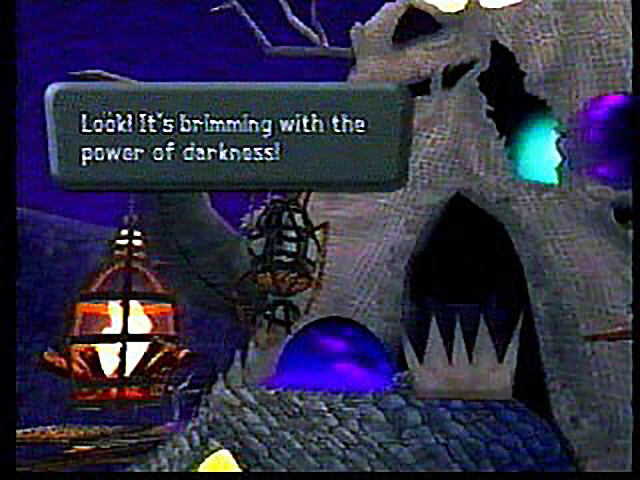
Funny, they look like big purple zits to me.
According to Jack, New!Oogie’s Manor is drawing its power from the huge purple zit things that now dot the structure. So, if we destroy them all, we’ll be home and dry. Great. First we played a game of fucking roulette with a bag full of bugs that even the Orkin man wouldn’t touch; now we’ve got to give him a healthy zit-popping skin treatment? This is getting worse all the time! Nevertheless, our brave lads head out to do battle with New!Oogie’s Manor.
It’s not as bad as it seems, at least, until you want to do something crazy, like see where the fuck you’re going or jump in the direction you’re facing. Then it gets tricky. I recommend sitting with your head turned to one side as you fight this battle. It won’t help you fight the sadistic fucking camera angle, but at least you’ll have the pain from the crick in your neck to divert you from putting your controller through the television set. Still, with time, luck, and a lot of screaming, Junior manages to defeat the ten or so Purple Pustules of Doom and the attendant baddies that come out to protect them from their oozy fate. New!Oogie’s Manor falls to the ground in defeat, revealing Halloween Town’s Keyhole in the process. Oh, no.
Oh, yes. His adrenaline already in full flow after the two exciting battles, there’s just no way that Junior’s going to pass up this invitingly open keyhole that’s seductively beckoning to him. With trembling hands, Junior raises his erect Keyblade up and up, locking the Halloween keyhole in a spectacle that wouldn’t be too out of place in a bukkake film. The keyhole must like it kinky, though, since we get a lovely upgrade to our Gravity magic out of this bit of underage whoring. Of course, if you didn’t have Gravity by this point, you’ll have it now. I hope you can face yourselves in the mirror the next morning, you sick freaks.
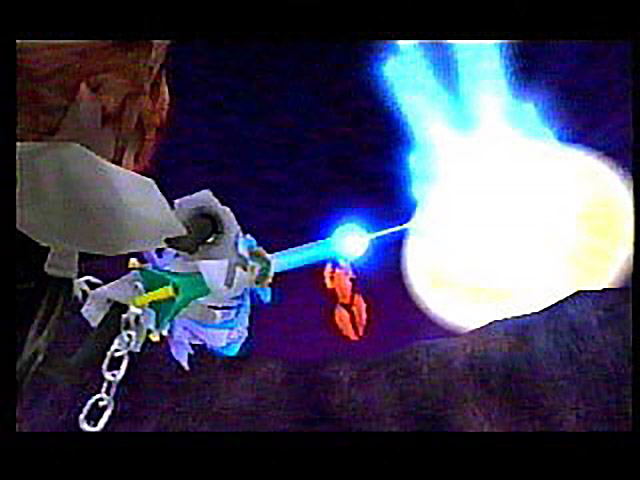
Money shot!
After the fade-out, we return to Dr. Finkelstein’s lab, where an abashed Jack apologies to his sweet Sally for being such a bonehead. Sally, banking this upgrade to her Foreshadowing Hammer for later, assures Jack that everything’s all right. Jack gives Junior the Pumpkinhead keychain to remember them by, and extends an open invitation to the gang to visit during next year’s festival. It’s going to be the scariest one ever! Oh, God, I hope they didn’t take me seriously about that naked James Arnold Taylor crack. Please, I want to be able to sleep at night!
And with that thought, my children, we take our leave of Halloween Town. Join us next time, when Sam will be leading you through Neverland and all the inappropriate adventures you can shake Captain Hook’s rapier at. Until then!