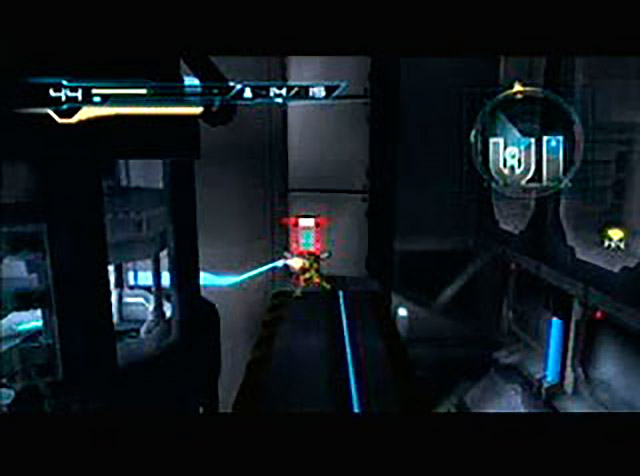
Passing through the room that leads to the System Management Room, Samus makes it back to the Geemer-infested catwalk, which is now conspicuously devoid of Geemers. As she’s crossing, the catwalk retracts out from underneath her, and Samus falls to the floor. I guess this is a side effect of the power coming back on? Samus lands on her feet, to show she’s still got some badass to her, and three Sidehoppers (“Armored Jumping Bipeds”) crash to the ground with her. Where the hell did these non-Geemer, non-Reo monsters come from? The game seems just as refreshed by this change of pace as I am, because it takes this opportunity to helpfully remind Samus that one of her new moves is the overblast, where she jumps on an enemy and delivers a powerful, close-range charged shot. Between these constant tutorials and the pervasively clumsy exposition, you can really tell Nintendo is concerned that the casual gamer demographic will be turned off by this game. So that’s nice, I guess.
Anyway, Samus uses her overblast technique to take the Sidehoppers out, and only gets stomped on a few times in the process. Once they’re defeated, the map alerts us to the appearance of another blue dot, and the tutorial window reminds us that blue dots indicate item hiding-spots. Which… if I’d had a stroke in the past five minutes and forgotten this information, would be super helpful, but Samus is already a dildo-collecting pro, so the information is not actually so useful. Samus heads to the south end of the room, and finds a pile of shipping containers, atop one of which a glowing blue dildo awaits. Samus kick-climbs her way up to it, grabs it, and then heads to the north end of the room in search of a way back up to the catwalk. She spots a very brightly-lit shaft at the end of the room, and attempts to kick-climb her way up, but the top is blocked off by a barrier wall. She uses her growing collection of missiles to bust her way out, and, after using the nearby terminal to re-extend the catwalk, continues on to the next room.
‘I’ll get you, my pretty…’
So now Samus is back in the giant elevator room. It’s still crawling with Geemers, but now that the power is back on, it’s easier to see what’s going on, and the elevator is functioning. Samus boards it and rides it to the top level of the room, but instead of continuing on to the navigation room, she instead heads for a terminal hidden on the topmost platform surrounding the elevator shaft. On the right side of the screen, Samus can see a glowing yellow dildo hidden behind a row of glass panels and a locked door. The terminal does not unlock the door, however, but instead raises up another set of platforms lining the perimeter of the room. Making a mental note to return for the exotic, yellow dildo later, Samus investigates the newly raised platforms, and finds a small tunnel leading to yet another secret dildo hiding spot. This common, blue dildo only goes so far to distract Samus from the unobtainable yellow one.
Having collected all the dildos she can from this section of the Main Sector of the Bottle Ship, Samus is finally ready for more instructions from Adam. She heads to the (now very well lit!) navigation room, saves, and proceeds to the tubey corridor leading to the Bridge. The camera moves to a cool, 3/4 overhead view as Samus runs through the tube and enters the Bridge. It’s so weird to be able to appreciate the small things like this, while still disliking the many other poorly executed aspects of this game.

I’m going! Settle down, asshole.
Adam is ready for Samus when she enters the Bridge. Maybe he resents that she wasted so much time hunting down secret hidden dildos all over the ship? Or at least that he had no choice but to watch her do it? Without skipping a beat, Adam tells Samus to proceed through the hatch on her right to head to Sector 1. Because he figures she was probably not paying attention when he doled out jobs to the Space Marines earlier, Adam reminds Samus that “[The Schnozz] went ahead to secure a route to a facility of interest,” so he’s also hanging out in Sector 1, too, but Samus’s job is to conduct a survey of the sector. Let’s hope for her sake this survey involves killing anything that moves. Adam sits back down in his La-Z-Boy recliner gets back to his really difficult job of watching the live feed from Samus’s helmet, and the map pops on-screen to show Samus’s next destination.
Penis!
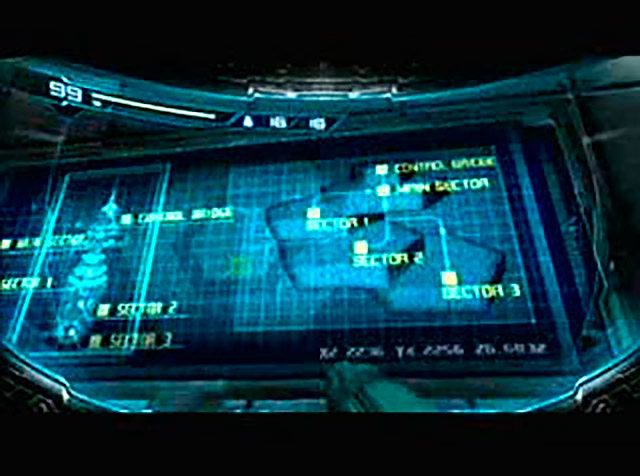
Samus heads through the hatch on the right and enters into another fucking elevator room. This particular elevator room has a map on the wall. Well, actually, it’s less of a map and more of, like, a creative interpretation of the general layout of the Bottle Ship. Apparently the four main sectors of the Bottle Ship, the Main Sector and Sectors 1 through 3, are all stacked on top of each other and connected by a single elevator shaft. Anyway, after she finds out that the “map” on the wall won’t really help her find anything, Samus loses interest and continues on to the elevator. It takes her up one level to the antechamber for the control deck on the Bridge, but the door leading to Adam is locked shut. Rude!
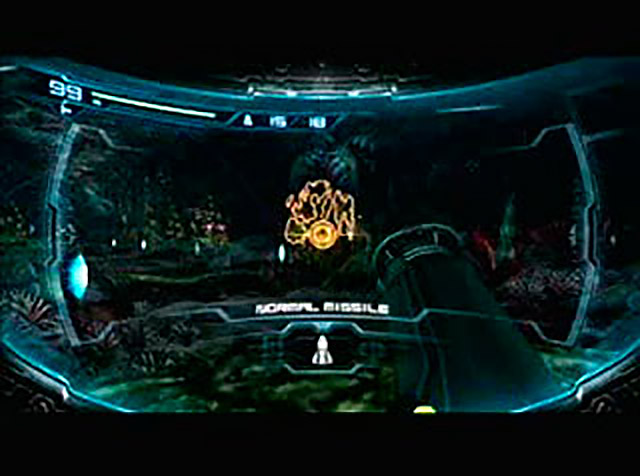
Samus instead exits through a hatch on the north end of the antechamber and finds herself in a long hallway with several ventilation shafts overhead. As she passes underneath one of the shafts, her dildo sense starts tingling. Which is maybe the most unintentionally dirty sentence I’ve ever written in my life. Looking around in first-person waggle mode, Samus notices that the ventilation shaft is clogged up with a Fly Pod. This one isn’t spewing Reos at her, but it’s pretty gross anyway, so Samus blasts it with a trio of missiles. Once the Fly Pod explodes in a wave of green slime, Samus realizes that she can kick-climb her way up the ventilation shaft, and does so. At the very top of the shaft, she finds a glowing box. She blows it up with her morph ball bombs, and, to her surprise, a blue dildo pops out. The joke about boxes and dildos just writes itself. More importantly, it seems that, in addition to the dildos that Samus has been collecting thus far, which all come with their own neat little display stand, there are also clandestine dildos that are hidden in blue-dot-obscuring boxes. That means that there are dildos out there in the Bottle Ship that won’t show up on Samus’s mini-map, and she’ll just have to rely on her powerful dildo sense to find them. Samus is up to the challenge.
With her new primary mission — find all the hidden dildos — firmly in mind, Samus proceeds back down into the main hallway and into the next room. This room houses yet another elevator. Try to hide your shock. Before getting into it, Samus sneakily enters into the tiny mesh tube hugging the outside of the elevator and, as a morph ball, rolls around to the back of the elevator. Hidden there, behind a mesh panel, is another blue dick-in-a-box. Samus adds it to her collection, rolls back out of the tube, and enters the elevator.

This elevator takes Samus down into a room that is almost exactly identical to the large elevator room outside the navigation booth near the Bridge, by which I mean it’s a very tall room with platforms lining both the elevator column itself and the perimeter of the room (as Samus notices the similarity between the two rooms, she is reminded of the yellow dildo that eluded her grasp for the time being, and the memory weighs heavily on her heart). Instead of Geemers, however, this room is infested with Bulls. This name is kind of misleading, because the only similarity between a Bull and a bull is that it tries to charge into you. But I would describe Bulls as “Faceless Koffings” because they explode in a wave of toxic purple smoke when they’re killed. On the very top platform in this room, Samus finds a relatively rare light pink dildo, which functions similarly to a Piece of Ass: if Samus collects four light pink dildos, she’ll get another energy tank. Do they also combine together into one super dildo? These are the kinds of questions I want endless exposition about.
Pink dildo in hand, Samus leaps all the way back down to the bottom level of the elevator room, and continues through the hatch on the left side of the elevator. She enters into a narrow corridor filled with Bulls and Sidehoppers, who appear to be guarding the locked hatch at the end of the hall. Samus takes the Bulls out from a distance, and, at the game’s gentle insistence, uses her overblast skill to take out the Sidehoppers. The players who these little tutorial windows are designed for are going to have a hard time with the rest of this game, I feel, if they haven’t figured out the overblast mechanic by now. Once the final Sidehopper has been vanquished, the hatch at the far end of the corridor unlocks itself, and Samus proceeds through.
It will come as no surprise to anybody who has been paying any attention thus far that Samus now finds herself in like the millionth elevator room of this recap. Granted, this elevator room is much more majestic than any of the others; in the center column, there are not one but three separate elevators, each leading to one of the different sectors of the Bottle Ship. The camera pans around the elevator complex in the middle of the room so that we can see the glowing number above each elevator door and also appreciate how cavernous this room is, and a goddamn chamber choir even sings in the background so that we’re suitably impressed. To distinguish this particular elevator room from all the others, a text box pops up in the corner and identifies it as the Main Elevator. So helpful.
Samus’s current mission is blah blah blah something about Sector 1, so she heads into the green-illuminated Sector 1 elevator. While the elevator descends, a synthesized female voice announces, “This elevator is bound for Sector 1. A Level 3 warning is now in effect in Sector 1. Please avoid traveling alone and remain armed. Stay alert to your surroundings at all times.” To my dismay, the automated warning has nothing to say about prohibiting long, angsty monologues.
When Samus makes it to Sector 1, she’s immediately struck by how green everything is; the elevator room that she arrives in is lit exclusively by green lights. It would be funny if this were the ice-themed sector, but, of course, it’s the plant-themed one. Lamenting that she didn’t bring along any fire- or flying-type Pokémon along, Samus proceeds to the navigation room on the right. As she saves, her map pops up to show a partial layout of the sector, as well as her next destination, another navigation room deeper in Sector 1.
Penis!
Samus sprints through the next area, a narrow corridor, and a text box on the bottom left corner of the screen identifies Sector 1 as the “Biosphere”. This seems appropriate, considering the next, larger room is overgrown with plant-life. In the distance, Samus can see a bunch of Reos flying around, so she dispatches them from afar with her arm cannon. When more Reos respawn, Samus first-person waggles around until she locks onto a distant Fly Pod, and destroys it with her missiles. Proceeding cautiously forward, Samus repeats this same process with another Fly Pod/Reo swarm combo further along the path. I don’t know if this room is supposed to be trickier than that, but the whole process takes about ten seconds and most of those ten seconds are spent mashing the fire button. Gotta love the auto-aim feature, I guess. The hatch at the far end of the room is overgrown with very sturdy vines, which Samus can only destroy with a missile. So, how did the Schnozz get through this part?
As Samus runs through the smoldering vines, into a circular room with glass walls, she hears a strange chittering sound. Noticing that the hatch across the room is locked, Samus skids to a stop in the middle of the room. Suddenly, one of the upper wall panels shatters inward. Samus looks up and to the left at the broken window, and she hears the chittering noise again, this time to her immediate right. Samus presses-left-to-not-die, sensemove-dodging out of the way as a Ghalmanian (“Giant Purple Chameleon Monster”) whips at her with its long tail. Cue mini-boss.
Ghalmanians, like all other videogame chameleons, have the power to turn completely invisible and shoot stuff at you. After Samus dodges the Ghalmanian’s initial sneak-attack, it disappears and green blobs of acid fly at Samus from two different directions, indicating that the Ghalmanian has brought along a friend. Samus quickly switches to first-person waggle mode and fires a missile in the direction that some of the acid blobs came from, bagging a Ghalmanian and turning it visible again. From there, it’s just a matter of finding the other Ghalmanian, and then killing them both with overblast attacks. There is this one cool part on my footage here where Samus overblasts one Ghalmanian, and as she’s flipping back off of its back, she lands on the other and overblasts it, as well. Totally intentional, that.